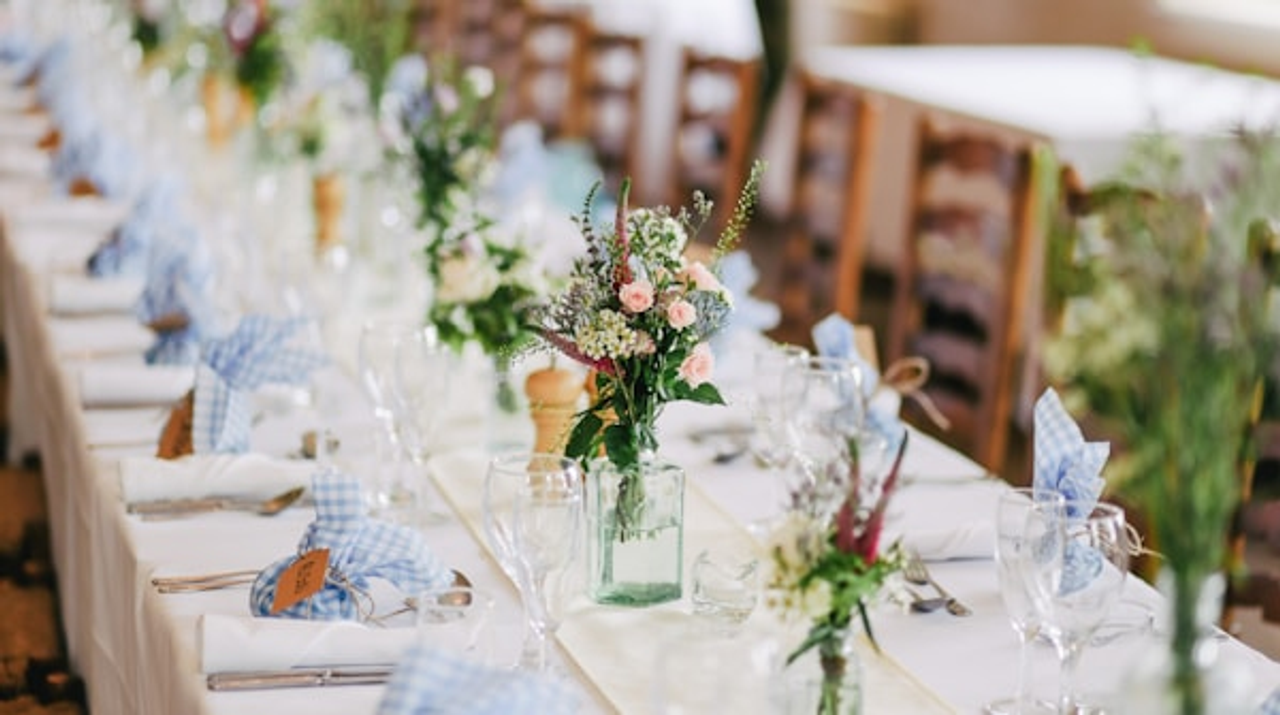
Create a Simple Event or Wedding Website (No Coding)
How to Make an Event Website Without Coding
Whether you’re planning a wedding, organizing a family reunion, hosting a big birthday party, or coordinating any kind of event, you’ve probably realized that constantly answering the same questions gets exhausting.
“When is it again?” “Where’s the venue?” “What should I bring?” “Is there parking?” “Can I bring my kids?”
An event website solves all of this. One place where everyone can find all the details, which you can update anytime. And here’s the best part: you can create one yourself in an afternoon without any technical skills.
Let me show you exactly how.
Why an Event Website Makes Sense
You might think, “Can’t I just create a Facebook event or send emails?” Sure, but an event website has advantages:
Not everyone uses Facebook. Your older relatives might not be on social media, or they might miss posts in their feed.
One central, always-accessible place. People can bookmark your website and check details whenever they need to, without digging through emails or scrolling through message threads.
You can include everything. Travel info, accommodations, schedule, photos, maps, gift registries—all in one place with no character limits.
Easy to update. When details change (and they always do), you update the website once instead of sending another group email that half the people won’t see.
Professional and organized. A clean website makes your event feel more official and well-planned.
It works for any event. Weddings, reunions, conferences, milestone birthdays, retirement parties, memorials—any gathering benefits from a central information hub.
What to Include on Your Event Website
An event website doesn’t need to be complicated. Here are the essential sections:
The Basics (At the Top)
Put the most important information where people see it first:
- Event name (“Sarah & Mike’s Wedding” or “Johnson Family Reunion 2025”)
- Date and time
- Location (with a link to map)
- A clear headline or welcome message
Someone should be able to glance at your site and immediately see when and where.
Detailed Schedule
Break down what’s happening and when:
- Ceremony time and location
- Reception or party time and location
- Any pre-events (rehearsal dinner, welcome drinks)
- Any post-events (brunch, activities)
Be specific with times. “Doors open at 5:30, ceremony at 6:00” is better than just “evening event.”
Location Information
This section prevents so many text messages:
- Venue name and full address
- Embedded map (most website builders make this easy)
- Parking information
- Transportation options if relevant
- Accessibility information if needed
Travel and Accommodations
If people are coming from out of town:
- Nearby hotels with booking links
- Hotel room blocks if you’ve arranged them
- Airport information
- Car rental suggestions
- Directions from common starting points
RSVP
This is crucial for any event:
- Link to your RSVP form
- RSVP deadline clearly stated
- What to include (guest names, meal choices, etc.)
- Contact info if people have questions
Many website builders have RSVP features built in, or you can link to a Google Form or RSVPify.
FAQ Section
Preemptively answer common questions:
- Dress code
- Whether kids are welcome
- Plus-one policy
- Gift registry information
- Food information (is dinner provided? special dietary options?)
- What to bring
- Weather considerations
This section saves you from answering the same questions dozens of times.
Optional: Photos and Story
For weddings especially, people often include:
- How you met story
- Engagement photos
- Photos of the couple or family
- Timeline of your relationship
This is nice to have but completely optional. A functional event website doesn’t need it.
Contact Information
Make it easy for people to reach you with questions:
- Email address
- Phone number (if you’re comfortable sharing)
- Best way to contact you
Some things need clarification, and people should know how to reach out.
Building Your Event Website
Here’s the actual process, step by step:
Step 1: Choose Your Platform
Several platforms are designed specifically for event websites:
The Knot or Zola - If you’re planning a wedding, these are specifically designed for wedding websites. Free, easy templates, built-in RSVP, registry links.
Wix or Squarespace - General website builders with event templates. More flexibility if you want to customize heavily.
Minted or Paperless Post - Have event website options tied to their invitation services.
Google Sites - Completely free and simple, though less polished-looking.
Carrd - Great for simple, one-page event sites.
For weddings, I’d recommend The Knot or Zola—they’re free and designed exactly for this. For other events, Wix or Carrd work great.
Step 2: Pick a Template
Don’t start from scratch. Choose a template and customize it. Look for templates labeled:
- Wedding
- Event
- Party
- Celebration
Pick something clean and simple. You want information to be easy to find, not buried under fancy animations.
Step 3: Fill in Your Information
Go section by section and replace the placeholder text with your actual details. Have this information ready before you start:
- All dates and times
- All addresses
- Hotel information
- Your schedule
- RSVP link or form
- Any special instructions
Copy and paste from whatever planning documents you already have.
Step 4: Add Photos (Optional)
If you want photos on your site:
- 3-5 photos is usually plenty
- Phone photos are totally fine
- Make sure photos are well-lit and clear
- If it’s a wedding, include photos of both people
Don’t spend hours on this. The information is way more important than having perfect photos.
Step 5: Set Up RSVP
This is one of the most important features:
Built-in RSVP - Many wedding site platforms have this built in. Just turn it on and customize the questions.
Google Forms - Free and easy, though less elegant. Create a form with your questions and link to it.
RSVPify - Designed specifically for event RSVPs. Free for basic features.
Paper RSVP - Old school but works. Put your address on the site and ask people to mail back their response.
Make sure your RSVP asks for everything you need: names, number of guests, meal choices if relevant, dietary restrictions if you’re serving food.
Step 6: Customize the Design
Make it feel appropriate for your event:
Colors - Match your event colors or just pick something that feels right for the vibe. Weddings might be more elegant colors, a kid’s party might be bright and fun.
Fonts - Keep it readable. Fancy script fonts are fine for headers, but use normal fonts for information people need to read.
Photos - If you include photos, make sure they don’t cover up text or slow down the site.
Keep it simple - More information clearly presented beats fancy design effects.
Step 7: Get Your URL
Most platforms will give you a free URL like “sarahandmike.theknot.com” or similar. That works fine.
If you want, you can get a custom domain like “sarahandmikewedding.com” for about $10-15 per year. Nice to have but not necessary—the free URL works just fine for most events.
Step 8: Test Everything
Before sharing your site:
- Click every link to make sure it works
- Check that maps open correctly
- Test the RSVP form by filling it out yourself
- View it on your phone (most people will use it mobile)
- Have someone else look at it for obvious typos or missing info
Sharing Your Website
Once your site is ready, share the URL:
On your invitations - Include the website URL on your paper or digital invitations
Via email - Send an email to your guest list with the link
In event groups - Post it in any Facebook groups or message chains about the event
Via text - For smaller events, text the link to everyone
On save-the-dates - Include it early so people can start planning
Make the URL easy to type if people will need to manually enter it: “sarahandmike.com” is easier than “sarahandmikewedding2025june14.com”
Updating Your Website
The advantage of a website is you can update it when things change:
Venue change? Update the address and map.
Schedule shift? Update the times.
New hotel block? Add the information.
Weather backup plan? Add a note about indoor location if it rains.
Day-of updates? If the ceremony time shifts, you can update the site and text people to check it.
Just log in, make your changes, and save. Everyone sees the updated information.
Privacy and Password Protection
Some platforms let you password-protect your site. This makes sense if:
- You’re sharing personal information
- You want to limit who can see photos
- You’re posting details you don’t want public
Just make sure the password is easy to remember and share it clearly with all guests.
For most events, a public site is fine. There’s no sensitive information on “Our wedding is June 14 at Oak Hill Venue.”
Mobile-Friendly Is Essential
Most guests will check your site on their phones—probably while they’re driving to your event or checking the address in the parking lot. Make absolutely sure your site works well on mobile:
- Text is readable without zooming
- Buttons and links are easy to tap
- Maps open in their phone’s map app
- Phone numbers are clickable
- Loads quickly
All modern website builders make sites mobile-friendly automatically, but always test on your actual phone before launching.
What Not to Worry About
People planning their first event website often stress about things that don’t actually matter:
Perfect design - Nobody judges your website design. They just want information.
Professional photos - Personal photos or no photos are totally fine.
Fancy features - You don’t need music, video backgrounds, or animations.
Constant updates - Once your site is up with the essentials, you rarely need to touch it.
Everyone using it - Some people will still call and ask questions. That’s okay. The site reduces those calls significantly, even if it doesn’t eliminate them.
Cost Breakdown
Event websites can be completely free:
Free option:
- Free website platform (The Knot, Zola, Google Sites)
- Platform-provided URL
- Total: $0
Upgraded option:
- Website platform: Free or $5-15/month
- Custom domain: $10-15/year
- Total: $10-15 per year
For a one-time event, free is absolutely fine. You might pay for a custom domain to look extra professional, but it’s optional.
After Your Event
After your event is over, you have a few options:
Leave it up - If it’s a wedding site, some couples keep it up as a memory. Costs nothing if you used a free platform.
Download photos or content - Save any photos or messages if you want to keep them.
Delete it - Most free event sites can just be deleted when you’re done.
Turn it into a photo gallery - Replace event info with photos from the day so guests can revisit memories.
Real Talk: You Can Do This
I know creating a website sounds intimidating if you’ve never done it before. But event websites are literally designed for people like you—someone organizing an event who needs a simple way to share information, not a web developer.
The platforms have templates. The templates have all the sections already set up. You just fill in your information. It’s more like filling out a form than building something from scratch.
And here’s what happens when you do make one: you get fewer texts asking basic questions. People show up on time to the right place. You look organized. And you have one simple link to share instead of sending multiple emails with updated information.
An afternoon of work saves you hours of answering individual questions.
You don’t need to be tech-savvy. You just need to choose a platform, pick a template, and fill in your event details. If you can send an email, you can create an event website.
Your guests will appreciate having one place to find everything they need. And you’ll appreciate having to explain the parking situation far fewer times.
So go ahead—pick a platform and start filling in your information. Your event website can be live before dinner.
Other Website Guides You Might Need
- Small business owner? Read our guide on simple websites for small businesses
- New to building websites? Check out our 10-minute website tutorial
- Not sure you need a website? See our guide on the minimum website you need in 2025